Sunday, October 25, 2015

Have You Tried Journaling?

I had starting a journal to document some things I was learning about this walk some time ago. This journal is a different one from another I have shared in a past post. The subject of that other journal is about the land of Israel.

The first page of my "Land of Israel" journal previously shared.
                          MY FAITH JOURNAL
 The purpose of my faith journal is to record the important points in my walk with Yahweh -- Yeshua. This includes acknowledgement of His Feast Days, important Torah principles, and anything that He may bring to mind.

If you keep your own journal, I would suggest that every time you add something, you leave the next page or two blank. That way if you find out more about your subject, it can be connected to what you have already posted chronologically, so to speak.

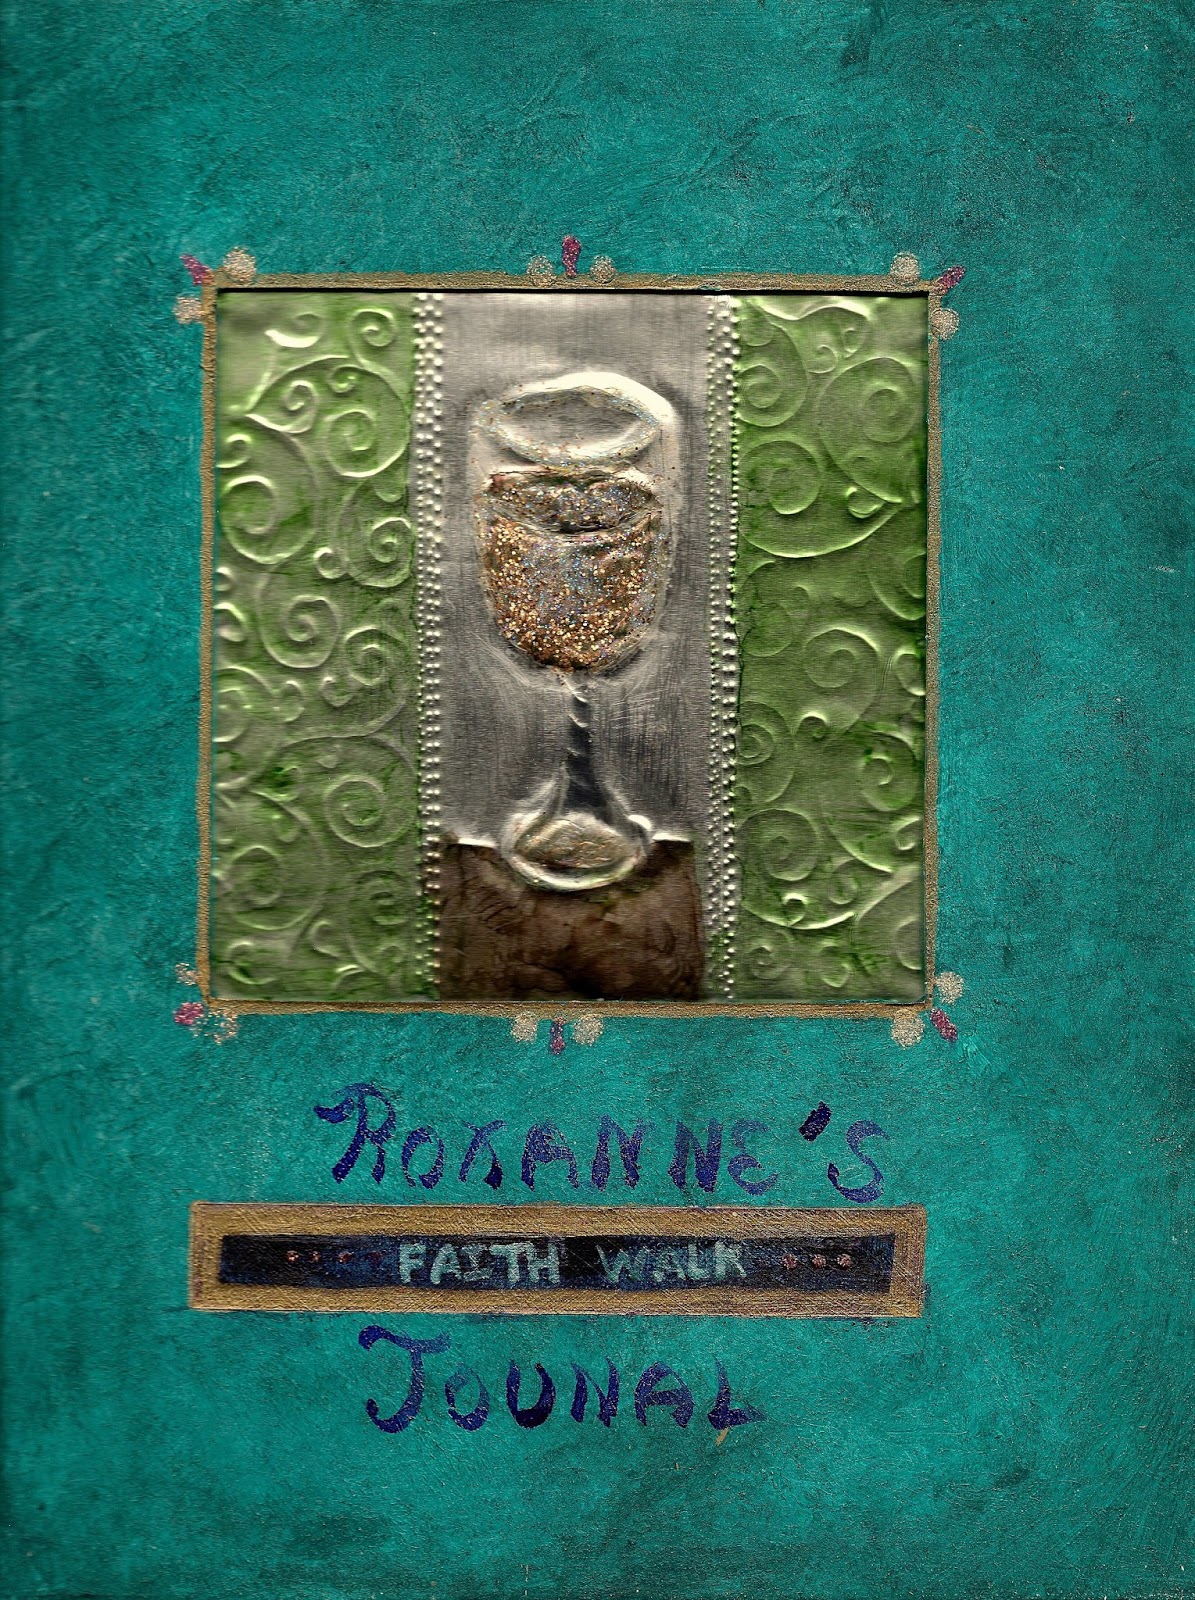
Journal Cover


 The following pictures are the first pages of my faith journal.

This glorious walk.

How can you not rejoice?

Torah is YHVH's teaching and instruction.

Celebrating Rosh Chodesh -- the New Moon

Representing YHVH's Moadim -- the Feast Days
Yom Teruah -- the Blowing of the Trumpets

Friday, September 11, 2015

It's Yom Teruah Time

I'm sure you've noticed that I haven't posted anything since March. Life gets in the way sometimes and, even with our best intentions, not everything gets proper attention. I won't promise that I will post consistently every week again like I did before but I will post when I can. I hope my viewers will keep following this blog.

With the Fall Feasts approaching, Yom Teruah, also called the Feast of Trumpets, is the first of these feasts. Among many other names this day has also been known as Rosh HaShanah (from the Babylonian exile), Head of the Year, and Birthday of the World. Without getting into whether or not to call this day one name or another, what is important is to acknowledge the day and blow our shofars.

It is hard to find interesting ideas for expressing our faith. The purpose of this blog is to pass on ideas that would compliment what you may be learning in your walk in the Torah. With this in mind, I crafted a shofar out of Sculpey and mounted it in a simple frame that I decorated with ribbons.


'In the seventh month, on the first day of the month, you shall observe a sacred occasion: you shall not work at your occupations. You shall observe it as a day when the horn is sounded.'  Leviticus 29:1

This year -2015- Yom Teruah begins at sunset on Sunday, September 13 and ends at sunset on Monday, September 14. Some observe this moedim for two days instead one, especially in Israel. The reasoning behind this is because of the uncertainty that was involved in determining the new moon in ancient times. Regardless of whether observing one day or two, all will be reflecting on the past year for the next ten days and looking forward to Yom Kippur and Sukkot. May you be blessed in the coming year.

SOUND OUR SHOFARS!   SHOUT FOR JOY!   CHAG SAMAECH!


Tuesday, March 17, 2015

Hebrew Themed Paper Punches

I'm taking a break from pre-Passover cleaning and getting this post up before the week is gone. Yes, I started cleaning earlier this year. It seems I can't get more than halfway through cleaning the kitchen let alone the rest of the house otherwise. I confess that I really don't like to clean.

Now the reason for this post... My daughter told me about paper punches she had seen at the local Hobby Lobby store. I didn't find them the first time I looked but on the second trip...Bingo!


The smaller punches are the Star of David and a dreidel. Those were the ones my daughter told me about. I also found a crown that is a larger size. Both packages were $9.99 but the store's website always has 40% of coupons so that makes the purchase a bit more economic.

There are so many projects to use these on. I just make make my own confetti! LOL

So, back to my cleaning and thinking about what I'm serving for our Passover seder. 

Be Blessed Dear Ones!

Thursday, February 26, 2015

Something For A Narrow Space

Hear, O Israel: The Lord our God is one Lord: And thou shall love the Lord your God with all your heart, and with all your soul, and with all your might.  -- Deuteronomy 6:4-5.

Looking through my supplies again I found a couple of packages of 1-1/4 inch wooden squares that I had acquired for another project but didn't use. I painted them with craft acrylic for a base coat and stenciled letters onto them. I glued the stenciled pieces onto a piece of glittered ribbon that I had prepared before hand. The ribbon was doubled over the top and glued down. Then a ring was sewn on the back to hang it with. At the bottom edge I folded the ribbon into a point and glued it down, adding a little jewel bead at the point.


This measures 1-1/4 inches wide by 12-3/4 inches long. It's perfect for a narrow spot on the wall but I have yet to decide the best place to hang it. It was a simple, easy project and worth giving it a try. If you prefer, you could stencil the word in Hebrew. What I like about this project is that I'll be  reminded of the Scripture whenever I pass by and see it. I won't only recite it when I rise up and lie down.

Blessings Dear Ones. I'm so glad you came to view this blog. Be sure to return for more ideas.

Tuesday, February 17, 2015

Thinking About Purim

Purim is fast approaching and before we know it Pesach will be here. I've been trying to come up with something to represent Purim this year so I'll start with 'crowns'.

I always try to use materials that I have on hand first and that may limit what I want to present. However I think you'll like this idea.

Those battery operated candles from the $ store are great if you're concerned about real lighted candles and the safety of your children. So, how can you dress them up? Here's my idea.

I started by making a pattern. Measure the circumference and height of your candle. Be sure to add a little extra to overlap and a little to be taller than your candle. Use fancy paper, glittery craft foam, scrapbooking paper (there are some pretty sparkly ones available) or any material that is flexible enough to wrap around your candle and hold their shape. Transfer your pattern on the backside of your chosen material and cut out. Overlap and glue the edges but don't make it so tight that it won't slip over the candle.

Materials that I had on hand...Heavy gold embossed wrapping paper and glitter encrusted craft foam.

Craft foam on the right. Heavy wrapping paper on the left with sequins and jewels added.

The lighted 'fake' candle inside the candle cover.


This would make a fun project for the kids too. So get out your supplies and glue and go at it. Have fun! Shalom Dear Ones.

Tuesday, February 10, 2015

Something For Me Instead Of The House

This week I was pawing around in my craft supplies and trying to come up with another idea to post. I came across a bag of letter beads that I purchased from a dollar store a while back. They were too small to do a home decor project with so I decided to do something to decorate me. I've made fabric and mixed media pins in the past and so I began to play a little with some other supplies. This is what I came up with.
I made a pillow form about 3 by 1-1/4 inches finished with a stiff piece of interfacing inside to stabilize it. Trim was added to the outside and then the fun began. I picked out spacer beads to place between the letter beads which were sewn on swag style. Then on to my other embellishments where the basket and star metal stampings and tiny red heart were found and sewn on. Lastly a pin back was added.

I hope you'll try this idea too. Shalom!


Monday, February 2, 2015

Tu B'Shevat

I apologize for my blogging absence last week. I was studying for my Bible College course final test last week, which I passed with a 99% grade. The same question tripped me up on this test as a previous test. After this I'm pretty sure I won't miss it again. Also last week was our 45th wedding anniversary and I was a bit busy getting a special dinner ready for my honey!

While attempting to learn more about the land of Israel, I 'll share my findings with my readers. This week the subject will be on Tu B'Shevat. This is the season when the trees begin to bloom and bear fruit. In looking for the Hebrew spelling טו בשבט  (it seems that it is much like the multiple spellings of Hanakkah) I came across the following link. http://hazon.org/how-do-you-spell-tu-bshvat/ It is worth checking out this interesting article.

And so you ask, what is Tu B'Shevat? Israel celebrates what is called 'New Year for the Trees'. It falls on the 15th of the month of Shvat. This year it corresponds with February 4th on the Gregorian calender. This is the season in Israel when the trees begin to bloom and bear fruit. The following Scripture names the seven species of 'fruit' as special agricultural products of the Land of Israel: wheat, barley, grape, figs, pomegantes, olive and date (honey).
 
Deuteronomy 8: 6-10 states: Therefore keep the commandments of the Lord your God: walk in His ways and revere Him. For the Lord your God is bringing you into a good land, a land with streams and springs and fountains issuing from plain and hill, a land of wheat and barley,of vines,figs and pomegranates, a land of olive trees and honey; a land where you may eat food without stint, where you will lack nothing; a land whose rocks are iron and from whose hills you can mine copper. When you have eaten your fill, give thanks to the Lord your God for the good land which He has given you.

While we may not be in the Land of Israel, we are connected with Israel through our obedience to YHVH's Torah. While there are certainly observances in Israel that one may decide not to take part in, it would benefit to know what they are.

To decorate your home for Tu B'Shevat could include anything with trees and fruit. I live in an area of the northeast US and I have always loved trees and particularly pine trees. I have a small collection of counter top pine tress and I'll have to work on the fruit theme, but it's a start. What about you?
My tree collection


A painting of the shagbark hickory tree in my front yard.
 As an afterthought, the Tree of Life theme could be added to the mix.

Chag Sameach!

Wednesday, January 21, 2015

I Never Promised You a Rose Garden ....

...but I did insinuate that I was going to show you how to incorporate your Hebrew roots with a snowman. This is a stuffed snowman and he'll never make you feel cold.

First I used a compass to draw three circles, in which the diameters in inches measured 8 1/2, 7 and 6, on scrap paper to be used as patterns but you could use any graduated sizes. Then these were pinned onto fabric, in this case chenille, and cut out.

I then made wide stitches around each fabric circle and drew the thread tight, and secured the last stitch, just like making a yo-yo. I then stuffed the openings with as much stuffing as each would take.
Next I hot-glued the three together, the largest being at the bottom and the smallest at the top.


To finish my snowman off, I glued on a carrot nose made from a rolled up piece of felt and beads for eyes and buttons. However, to make my snowman take on a Hebrew persona, I added a black hat, side curls and a tallit.

Now for the big reveal:


This is the only Hebrew snowman I plan on making. Have a blessed week Dear Ones!


Monday, January 12, 2015

Incorporating Symbols Of Faith Into Your Surroundings

Hi everyone! I'm so glad to be back after being absent from this blog. I'm already planning more projects for future posts. The whole idea of starting this blog in the first place wasn't intended to be a look-at-what-I-did-aren't-I-great blog but a way of sharing ideas. I hoped to provide encouragement for readers to surround themselves with objects and material that remind them of the true foundations of their faith.

Having left behind the pagan holidays and embraced the Feast Days of Yahweh, I've found very limited  availability of Hebrew Roots or Feast Day themed items. So, I thought why not make my own and encourage others in the same pursuit. Pinterest is a great website to garner ideas. I find it a challenge to take ideas from there, or anywhere else for that matter, incorporate and combine them into finished projects that are encouraging to me and can also be a witness to visitors.

If you are still involved with the past holidays that most of us were brought up to celebrate, I'm not going to beat you over the head with a Torah scroll. As I learned about the Feast Days, seven in all, I found I was too busy trying to keep up to miss the others. I had left Halloween and Easter behind some time ago in my journey but not Christmas until about 5+ years ago when I started pursuing the Torah. Christmas was a big holiday time for me with all it's trimmings, but I now have seven holidays to celebrate that leave past holidays in the past. I would encourage readers to have fun and decorate and craft to your heart's content. Personally, I think our Abba delights when His children operate in the giftings He has placed in us.

Now that I've said my peace, I'll share two new items that I'm adding to my decor. If you check out the craft supplies list tab on the top of this page, you'll find a source for the stencils I used for this project.

A 6 inch square canvas stenciled with acrylic paint and a small pillow, stenciled,trimmed and sewn, stuffed with homemade potpourri. It smells great and I think I'll leave it on my desk to enjoy.

I combined the menorah picture on a  wall with a past project, a reminder to pray .


Wait until you see my next post. How can you combine Hebrew roots with snowmen? You'll see.

Wednesday, September 24, 2014

Feast of Trumpets

And יהוה spoke to Moses saying "Speak to the Children of Israel saying, in the seventh month. on the first day of the month, you will have a Sabbath (Feast of Trumpets), a memorial of the blowing of trumpets, a sacred convocation. Leviticus 23: 23-24 (The Messianic Alef Tav Scriptures)

You may know this day as Rosh Hashana, the Jewish New Year, but it is good to go back and remember YHVH's original purpose for observing this day. It's a call to examine ourselves over the next ten days known as The Ten Days of Awe leading up to Yom Kippur, the Day of Atonement and repent of the sins in our lives. I realize I may be preaching to the choir but this is for those of you who may be new to this walk and just learning. This is my 5th year of observing the Feast Days and tonight I'll go outside, sound my shofar and start to consider my ways.


And so....Chag Samaech Dear Ones!

Thursday, July 17, 2014

A Different Kind Of Stencil

I'm still trying to get back into a regular schedule for my blog post so please keep checking back. Because of a neighbor situation I've recently moved my studio into a different area of the house. Now that I'm pretty much settled in I've started looking for interesting ideas to share with my readers.

Recently I've notice a flurry of YouTube videos showing how to make hot glue stencils. I just had to give it a try.

I used a translucent silicon ipad cover from the dollar store that a friend gave me as a work surface. It's also been suggested to use a silicon baking sheet or freezer or parchment paper for a work surface. I would suggest any surface that won't melt from the hot glue that said glue can be easily peeled off after it's cooled.


Then I drew some shapes with a black sharpie on scrap paper that I placed under the silicon ipad cover. It isn't necessary to use a pattern but for me it was a lot more accurate that it could have been otherwise. With my glue gun well heated I drew the shapes carefully with the hot glue.


I peeled the shapes off of the surface, placed them on card stock and sprayed them with some paint. This was the result.


This was only an experiment but I can see that stencils can be made that are not readily available commercially. I especially like the idea of using words spelled in cursive. My brain gears are clicking away as I think of how I can use this idea. Maybe on an art quilt or hand stenciled fabric for a garment. Ah, the possibilities!

I hope you'll try this technique yourself. But for now I'll just say:


Thursday, May 22, 2014

I'm Back!

I'm back although I didn't really go anywhere. Basically I found myself running out of steam for this blog. I had exhausted the ideas I had to share with my readers along with dealing with family issues that kept me distracted. I apologize dear ones but I needed to take the time to 'chill' for a while so I could bring you something fresh.

When I started this blog it was with the idea that there are other like-minded creative types coming into the Hebrew roots walk. I've had a difficult time searching out more Hebrew themed craft materials, especially linking Judah and Ephraim. Instead of just showing you what I've done I will be introducing some ideas in future posts to make your own (semi)raw materials to use and projects to use them on. Also I've been prompted to add more substance to my posts in the way of encouraging Scripture and maybe tidbits of what I've learned. This is a scary step for me. I may stumble and fall on my face sometimes but  I'm looking forward to the future and sharing with you dear ones.

Recently I viewed a YouTube video in which a crafter was painting flowers on white ceramic tile purchased from a home improvement store. She used Folkart brand enamel from the craft store but, since I had stained glass paint left from my last project,  I used what I already had. The tile cost all of 32 cents. What a bargain! I love it when my crafting costs so little. These tiles came in two sizes 4 square inches and 6 square inches. The larger of the two cost approximately 46 cents.


I started my project with making a simple stencil out of heavy paper. I used a soft lead pencil to trace my stencil onto the tile. I had to take care in this step because the pencil mark could be wiped off very easily. You could also transfer your pattern with graphite transfer paper. The outline of my motif  was applied and then the motif was filled in with the paint. I then freehand painted stripes on the tile.


Folkart Enamels or stained glass paint could be used.


The finished tile is a little bit folk-artsy but I like it. This could be used for a coaster (put cork or felt buttons on the backside first) or displayed using a small plate or picture frame stand.


Friday, March 28, 2014

A Pesach Project

I'm still working on adding more to my Pesach tablescape. This week I fashioned a three-panel display. It would work well on my table and also fit in as a display with other Pesach decorations.

First I cut three identically sized foam board panels. I covered the panels with glitter impregnated felt that I had in my stash of supplies after I trimmed the edges with narrow ribbon. I spaced the panels a short distance from each other on the felt in anticipation of using the felt as a hinge  between the panels. Since the felt pieces weren't long enough to place on one side of the three panels, I glued two panels to the first piece of felt and a piece of felt to the third panel. I flipped the panels over and proceeded to do just opposite on the backside of the panels. I know this is possibly confusing for my readers to understand but in essence what I did was create a hinged three-panel display.

Next:

  Once the three panels were assembled into one unit the fun part began. I drew number stencils in reverse representing the year on the back of glittered canvas. I cut them out and glued them to the middle panels.

Then fancy ribbon was applied on each panel and the appropriate words were a added with dimensional glitter paint. The backside of my display is identical to the front so it can be view on both sides when placed on a table.
The project I posted last week of the candle holders went perfectly with my panels. I'll be adding these items to last year's projects on my Pesach table this year. My collection is growing.


Friday, March 21, 2014

Getting Ready For Passover

The cleaning has begun this week. The first room is my studio and supplies closet. If I wait until the week before Pesach I can barely get the kitchen done so I'm attempting an early start. Maybe I can get the whole house clean in time this year.

I've been brainstorming what projects to share leading up to Pesach. (Still brainstorming...LOL) This week's presentation is a set of candle holders for my Pesach table. A friend had gifted me with a kit of stained glass paint and I purchased two glass votive candle holders at a local $ store. I decided to use votive candle holders instead of regular taper holders to save my tablecloth from dripping wax as the candles burned.

First I drew my designs on paper. Actually I reused patterns I had previously used in other projects. I prepared the glass as per directions. Then I taped my designs inside of the candle holders.
My designs were outlined with the 'fake' lead that came with the kit.
Next I proceeded to apply the paint, not an easy task. Because the glass is rounded, the paint kept migrating and pooling at the sides of the design. I was concerned that it would spill over and run down the glass.

Here is my finished project.

I placed the letter Shin and a dove on each votive. This gives the choice of a different orientation to place them on the table.


Thursday, March 13, 2014

Looking Towards Spring

I wasn't sure if I would be posting again before Purim so I didn't have another Purim inspired project planned. However I have been working on a new flag for my garden. Since snow is still on the ground and the garden is still asleep I'll have to wait to hang this in the garden.
I made the flag from outdoor canvas left over from making last year's flag. The Hebrew prayer stencil was designed by Jessica Sporn and can be purchased at http://www.stencilgirlproducts.com/stencils-s/1846.htm   For those of you who can't read Hebrew (Don't feel bad, I'm not even at the Dick and Jane level yet) this is the priestly blessings from Numbers 6: 24-26
               May YHVH bless you and keep you
               May YHVH cause His face to shine upon you
               and be gracious to you
               May YHVH lift up His face towards you and give you peace.
This stencil was rather expensive compared to all the other stencils in my collection but it was perfect for my project. I also plan to use it on other creations. If anyone wants to purchase one but it may be too expensive for you (it costs almost as much for shipping as the purchase price) consider sharing the cost with another crafter.
To fill out more of the space on the flag I added the same Menorah stencil I used on my candle jar snuggy in a past post. That stencil can be found at http://www.craftcuts.com/menorah-stencil.html
I'm not affiliated in any way with these sources but I just wanted to share them with you.
The flower vine stencil was one purchased at a local craft store.

I can't leave the glitter alone and I embellished the candle flames with glitter glue. Time with tell if the glitter will survive the summer weather.

Now I really can't wait for spring so I can hang my flag out where it will greet my visitors.
              

Friday, March 7, 2014

More Hamantashan

As I indicated in my last post I'm still on a Hamantashan kick. After making fridge magnets in the shape of that famous cookie the quilter in me rose to the surface and I thought why not incorporated the idea into a table runner of sorts. The photos following will show my progress.

First I decided on the size I wanted. I drew a circle about 8 inches in diameter on cardstock. After cutting it out, I traced it on the backside of the fabrics I chose. 

Next I placed two layers of my fabric rights sides together, cut the circles out leaving some selvage. I sewed the cutouts slowly to keep them accurate.

I trimmed the selvage and clipped it for ease.

Next I pulled two layers apart and carefully clipped one layer with an opening big enough to turn the shape right side out. Don't worry. this cut in the fabric will be hidden.
I took another piece of cardstock and measured a equal sided triangle out, then cut it out to use and my fold pattern. After tracing around it, I used those lines as fold lines and ironed them to make them more pronounced.

I took each 'cookie', matched the fold lines together with another 'cookie' and sewed down the fold line. Each cookie was sown onto the previous one until the row of cookies was the length I desired. Next I made another triangle pattern slightly smaller to use for the 'filling' of the cookie. These filling pieces were cut out and bound to each cookie with Heat and Bond. As you can see in the following picture the cut I made to turn my cookies right side out is covered by the filling.
The following pictures show how each cookie in the assembly was folded and sewn down. If you have ever made the cathedral window block, you will see this is a similar technique .


 The grand finale! My Hamantashan cookie runner.

Lately I'm been interested in making narrow table runners but I think that this one would have benefited from adding another row of  'cookies'.  However I used what was in my stash and I only had enough fabric to make one row.

This was just an idea that I will be using as a take off to pursue in the future.

Purim will take next week before my next post so I wish you all a Happy Purim! Get those niosemakers out and have at it! Love you all. See you next week!