Two years ago or so I was a member of an artist's forum and saw another member's artwork that she created using stamps she had made herself. Upon inquiring how she did it, she shared the easy construction method with me. I'm sorry say that I can't remember the name of the forum or the artist in order to give them credit for the instructions.
The supplies you will need for this project are drawing paper (if you are going to create your own design...but if not, check out the childrens' coloring books I mentioned in a previous post to use for your design), tracing paper, a pencil, scrap cardboard,a small brayer, a flat surface to spread paint on, craft paint and sticky backed craft foam from the craft store.
First draw your design with a heavy enough line that you can see it clearly through tracing paper. Then lay a piece of tracing paper over it and trace.
After you've traced your design transfer it to the back of your sticky back craft foam. You can either use graph paper to transfer the design with. Or you can use my method which is cheap and easy. I merely trace on the back of the tracing with a heavy pencil and turn it over. I then proceed to retrace it with a stylus or empty ball point pen. Remember that what you trace onto the back of the craft foam will be the opposite image of your tracing. For instance, if you want to trace letters make sure you trace it backwards on the back of your craft foam.
The next step is to cut out your shape.
Next cut a piece of scrap cardboard that your shape will fit into. Peel off the backing of the foam and place on the cardboard backing.
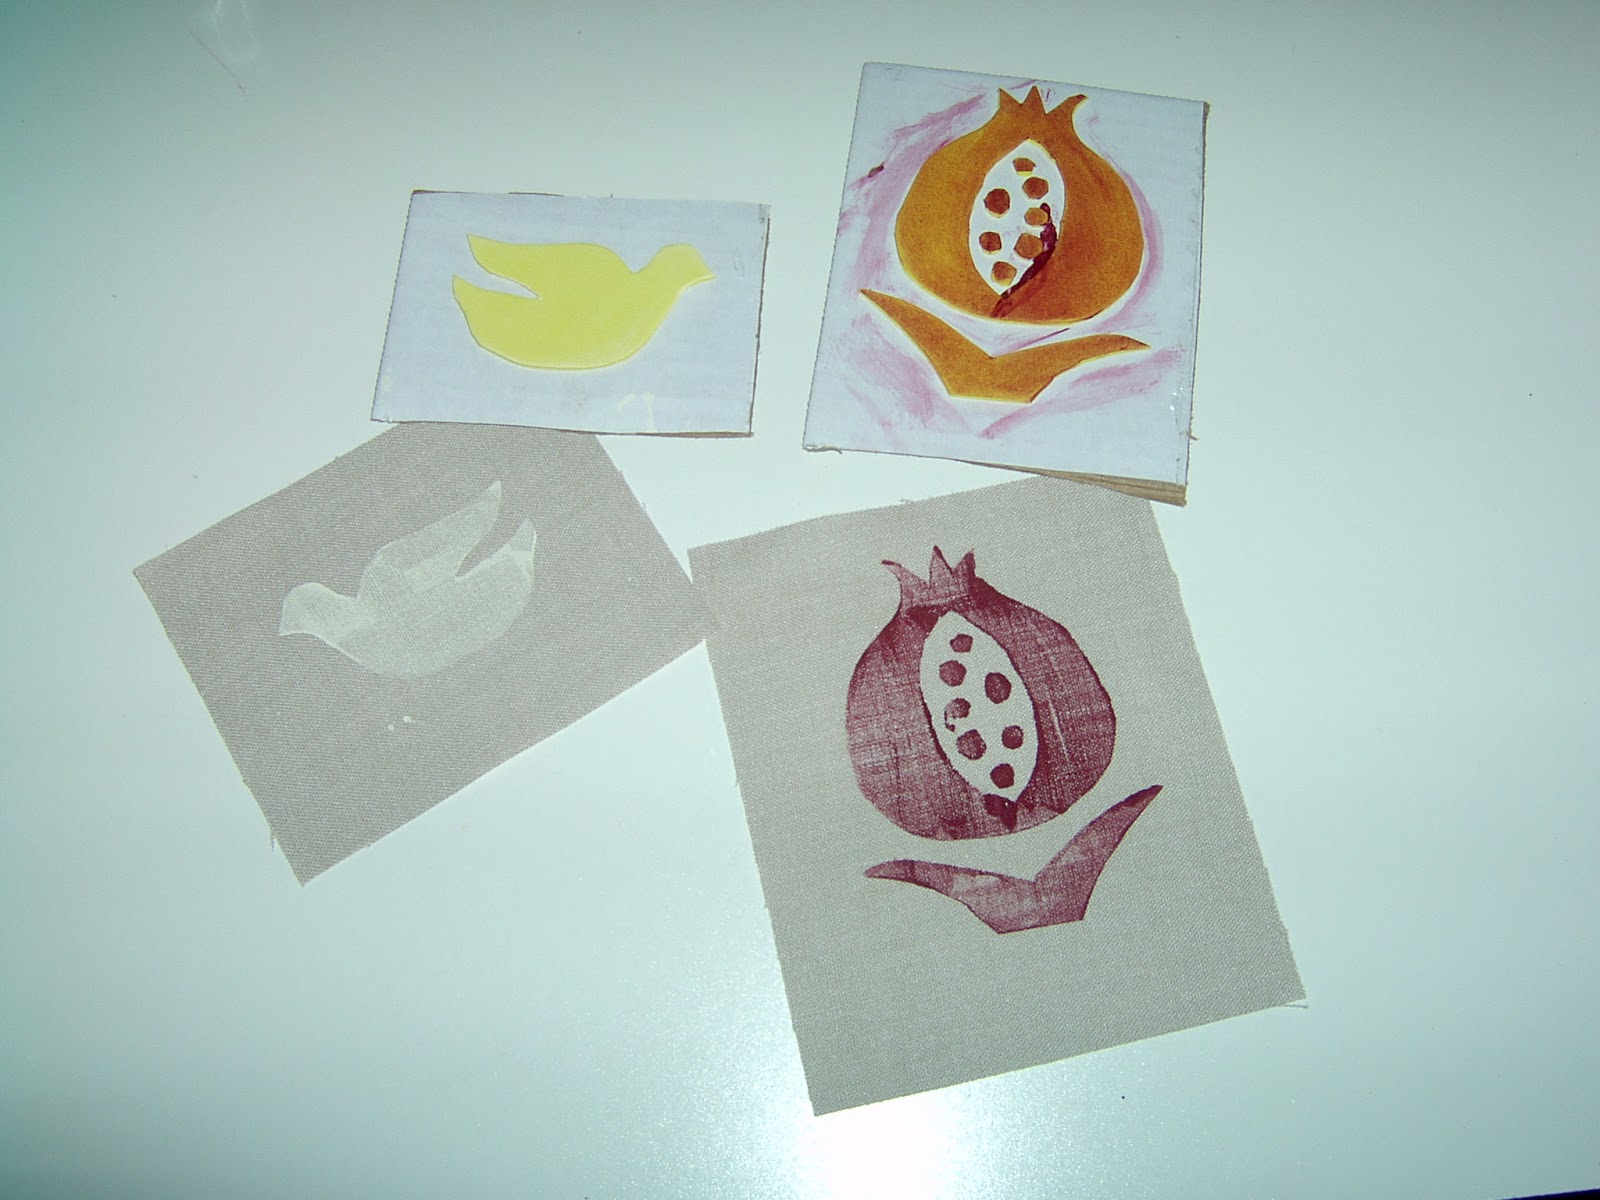
Now you're ready to print. Whether using paper or cloth to print onto I recommend practicing which, in this case, I didn't do. (A little shame-faced here.)
Pour out a good amount of paint onto a flat surface (you can use waxed paper taped down to the table). Then roll your brayer back and forth through the paint, enough to coat the brayer evenly. Roll the paint ladened breyer over your stamp. Turn the stamp over and carefully place it on the surface you are printing on. Press down evenly all over the stamp. Lift up and there you have it...a finished print.
I started adding a bit of stitchery to my prints to start to liven them up. Just think where one could go with this.
I've only just begun (as the song goes). I could use these in a little wall quilt, the cover of a needlebook, a pin cushion. an applique on a tee shirt. The possibilities are endless!


2 comments:
Great idea! I am getting so many good ideas... you are like a personal Pinterest!
Hadassah
LOL! Thanks for the compliment.
Post a Comment